My map so far

Today i want to talk to you about my grey box, in my first post you would have already read about what a grey box, but in case you missed my first post and don’t want to read it then i’ll remind you, a grey box is the first stage of the actual map development (as in the bit were you hop into the map editor and start building it not the bit were you draw it on graph paper or use illustrator and graph paper) and so you’re probably thinking that at this stage i would need to have my art assets and what not ready but luckily i don’t (actually need to have them ready) because they come later in the third stage of development but ill talk about that later, So in this stage of development all the map needs to be able to do is be playable, it doesn’t need any fancy models or effects to make the player think “wow this is one hot map” instead all i do is make as a bunch of plane brushes nothing fancy needed!.
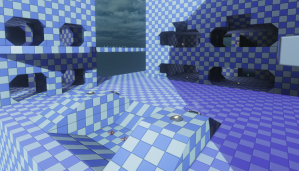
Yeah that’s the greybox. amazing ain’t it?

I beileve the grey box is almost complete but you’re all probably thinking to your selves “hold on that’s only half a map” well then i’d have to say that you’re spot on because this is a symmetrical map and that means that i only have to build half of it then copy paste, oh man does that make map design easy, now of course this can only work with certain games, you couldn’t really have a symmetrical death match map in the half life 2 single player campaign could you? (well you could but it wouldn’t accomplish much.)
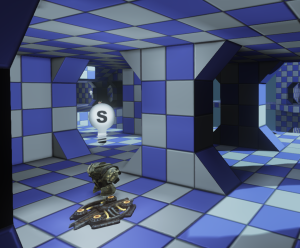
Another image of the grey box with a placeholder light and armor pickup.

So now if you’re wondering why there are weapons in my map it’s because i need to test it, the tests being something along the lines of does this weapon make the player overpowered in this area of the map? or does this armor make the player to strong if i place this armor to close to the starter position.

But yeah just things like that, that i have to take into consideration for the final design of my map.

Finn signing out.
Prattle

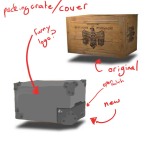
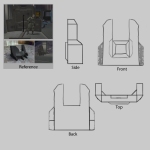
Today i’m posting just because i should, i haven’t actually done alot with maya at the moment or really anything in UDK but what i have been working on is art asset design, I’ve been doing some sketches in Photoshop using a cintiq which i have at the course and at the moment i’m working on a viable means of cover for the teams (for when the player is not moving about and as of such does not want to get shot at.)

In the next few days you will be seeing some updates on my blog with pictures of cover and the like, the pretty stuff (fancy door ways and what not) will come later, Basically i’ve broken down what i need and what i want.

What i want

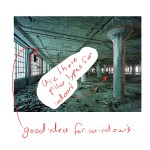
  • Fancy windows
  • Wires (for effect)
  • bronze pipes
  • Pretty stuff in general for the type of map i’m going for.

What i need

  • Cover
  • Door ways
  • pathway skirts (like fences but easy to move through and doesn’t break up smoothness of combat to much)

That’s all for now, hope you keep reading.

Toodle’s.

Apple

Welcome readers!

Yesterday in the course we had a lesson in using Maya which is an autodesk program that allows you to build 3d models and apply different effects to them some of these being muscles,lights,fur,cloth and many others, The first model we had to design was an apple (get it cause i called the post “Apple”).

This model is made from three seperate polygon shapes

  • Sphere (the apple)
  • Cylinder (the stem)
  • and a Plane (The leaf)

To get the shape of the apple all i had to do was change it to a vertex, vertexes allow me to edit specific points on the shape and move them about, in this case i selected to bottom half and made it slightly smaller and longer, i then selected the top half and shortened it slightly, this allowed me to give it the shape of a perfect apple, as for the material (which is the skin of the model) all i did was get an image of an apples skin and applied it to the model.

For the stem that is a cylinder which has been extruded, extruding allows me to make a copy of a selected surface and have it still connected to the previous cylinder,this allowed me to then pull the extruded cylinder up and then move it slightly to the left(i did this with several different extrusions  to give it the shape that i wanted.

Lastly for the leaf what i did was make a Plane (Think of it as an A4 piece of paper) and then applied a leaf.png, the png file actually has a black background but Maya has a feature which you can use to remove all black from an image (Now its an A4 piece of paper which has a leaf drawn on it and then cut out,) Then all i did was rotate the plane a little, place it on the stem and then i used the vertex edges on the plane to give it some dimension.

Toodles.

Art assets

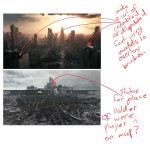
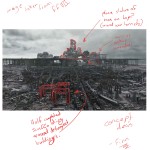
As i steamroll forward in my map we were then told that we had to make art assets so over the past week i have been doing research into what i want in my map and over the next week or so i will be posting some of the image designs i came up with, So keep an eye out!.

Tones and the like

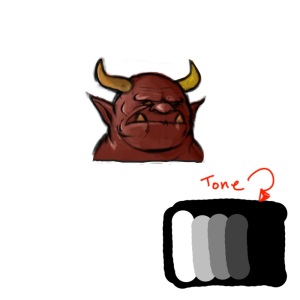
Right so today in class i learned how to do tones and coloring on a pre-drawn head,                                                                                                                                                                                        i think it ended up pretty well and it should help me alot further along in the course.

So this is my first post

So this is my first post.

I’ve been working on a map for a few day’s now using the Unreal development kit (UDK) and I’ve gotten to the point were I’ve finished the grey box and for those of you don’t know its the point in map design were its only the map but only using development materials or textures depending on what program you’re using in this case I’m using a development material which is just the color’s blue and white in a brick pattern.Image

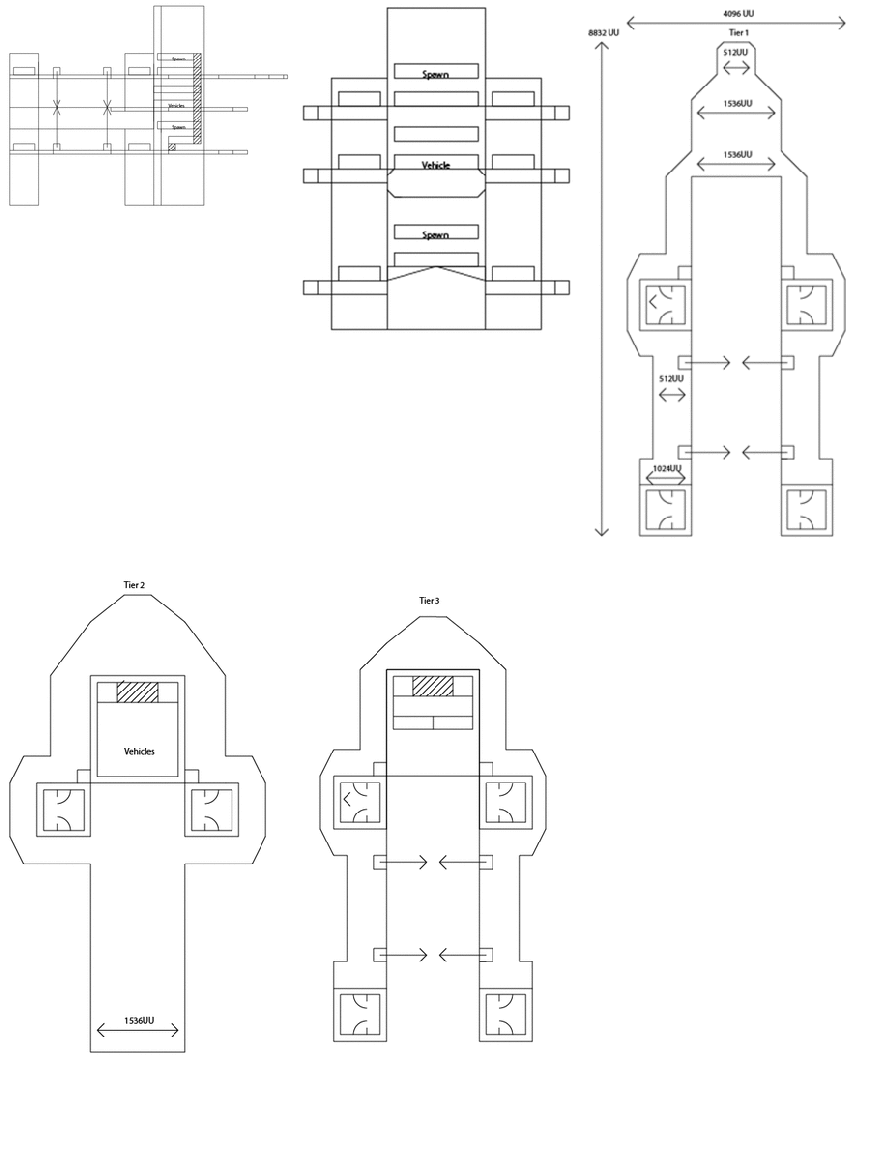
 Here you can see some designs for it which i made using illustrator, The map hasn’t changed significantly since this design except that i removed the the jump pads from it.

So anyway now that I’ve explained the map ill talk about what i’m up to now which is the design of the art assets for my map, now usually in a design environment i wouldn’t be the person doing this, someone would build the grey box then someone would figure out what should go in their and then someone would build the assets and place them in the map, but seeing as how i’m the only one here i guess im building it myself.

So in the course i was told that i had to come up with a theme and setting for the map, So I’ve chosen to go with  the setting of FUTURISTIC CITY and my theme is RELIGIOUS INDUSTRIAL MILITANT CITY.

That’s everything for now enjoy~